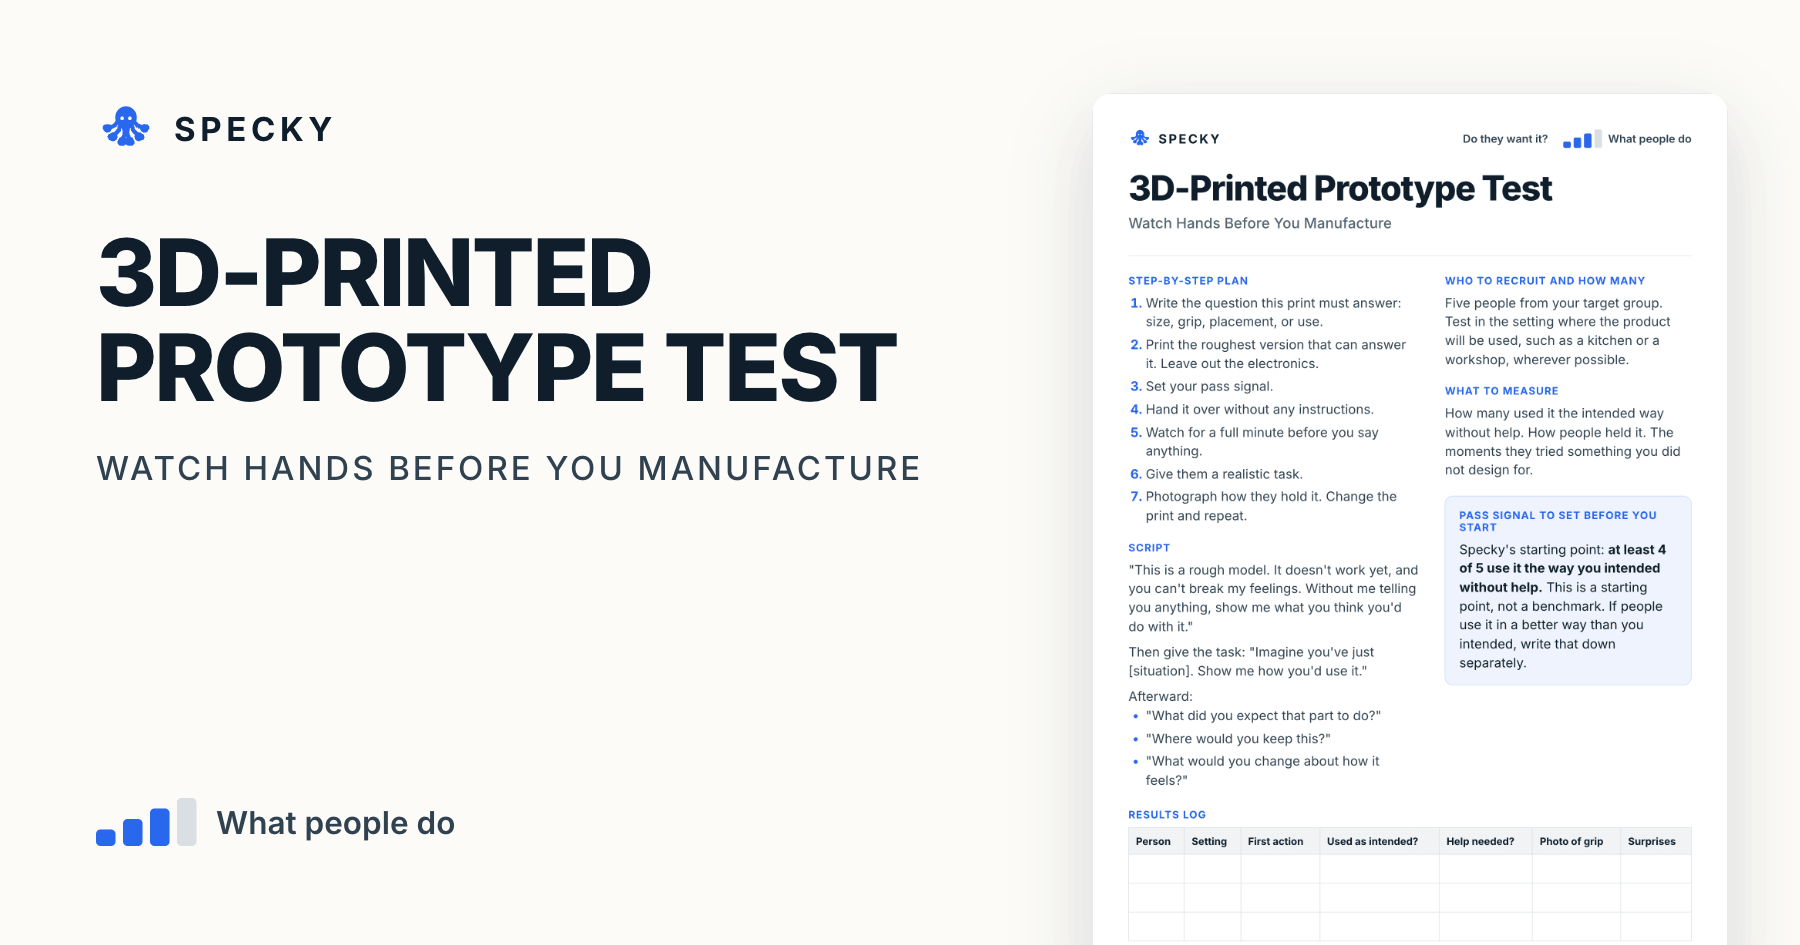
3D-Printed Prototype Testing: Watch Hands Before You Tool Up
Before you pay for tooling, put a rough model in someone's hands and say nothing. Watch what they try to do.
Share
3D-printed prototype testing puts a rough physical stand-in of your product in someone's hands, with no instructions, and watches what they try to do with it. It answers questions about size, grip, button position and placement before you pay for tooling, when changing the design still costs one more print rather than a new mold. Below are a free template, a script and a pass signal.
Key takeaways
Tooling is where mistakes get expensive. Formlabs puts aluminium molds at $2,000 to $5,000 and says complex steel molds for high volumes can reach $100,000 (Formlabs).
Rough models find real problems. In a 2010 study of a floor sweeper, low- and high-fidelity prototypes found as many usability problems as the real product (MeasuringU, 2017).
You may not need a printer. Jeff Hawkins tested the PalmPilot with a wooden model and a chopstick stylus (Computer History Museum).
Set the pass signal first: at least 4 of 5 people use it the way you intended without help.
What is 3D-printed prototype testing?
It is a short, silent session. You hand over a print with no electronics inside, watch for a full minute, then give a realistic task. You photograph how people hold it and log every moment they do something you did not design for.
Hardware teams often split prototypes into "looks-like" models, which show size and shape, and "works-like" rigs, which prove the technology. This test uses a looks-like model. It asks whether the shape fits how people want to use the thing, not whether the electronics work.
In David J. Bland and Alex Osterwalder's Testing Business Ideas, the 3D print is one of the discovery-stage discussion prototypes, alongside the paper prototype and the storyboard. Strategyzer's experiment library rates it 3 out of 5 for cost, setup time and run time, and shows its evidence strength as a range from 1 to 2 out of 5. It is tagged to all three risks: desirability, feasibility and viability (Strategyzer poster).
What should the print include, and what can you leave out?
The outer shape at true size, because size is usually the question
Anything people touch: buttons, clips, hinges, handles, even if they don't work
Rough weight, if weight matters; tape a few coins inside
No electronics, no finish, no colour unless colour is the question
When should you use a 3D-printed prototype, and when not?
Use it for hardware or anything people hold, wear or mount: size, grip, button position, how it sits on a desk. Physical things reveal problems that a screen never will, and changing a print is far cheaper than changing a mold.
The design sprint authors agree that this is where hardware teams struggle. Jake Knapp and John Zeratsky call prototyping the biggest challenge in a hardware sprint, and list three ways round it: modify an existing product, use 3D printing or other rapid fabrication, or show a brochure instead of the product (design sprint guide).
Do not use it for software-only products. Do not use it to judge materials, weight or finish if the print feels nothing like the final thing.
Do you need a 3D printer at all?
No. The Computer History Museum holds the wooden model Jeff Hawkins used, around 1995, to test the PalmPilot's design. He used a chopstick as a stylus, took pretend notes in meetings and counted the steps common tasks took (Computer History Museum). Alberto Savoia calls it his favourite "pretotype" story: Hawkins cut the block to fit his shirt pocket and carried it for weeks, tapping it as if checking his schedule (Savoia, 2010). If a block of wood, foam or cardboard answers your question, start there.
Which risk does it test, and how strong is the evidence?
This tests desirability: does this shape fit how people want to use it? The evidence is behaviour, because you see what hands do, without opinions getting in the way. It says nothing yet about price or whether they would buy it.
Alex Osterwalder's point about evidence applies: what people say and do differ, and evidence gets stronger the closer it gets to a real purchase (Strategyzer, 2017). A good grip is a fact; "I'd buy this" while holding it is not. See our guide to choosing a product experiment for what comes next.
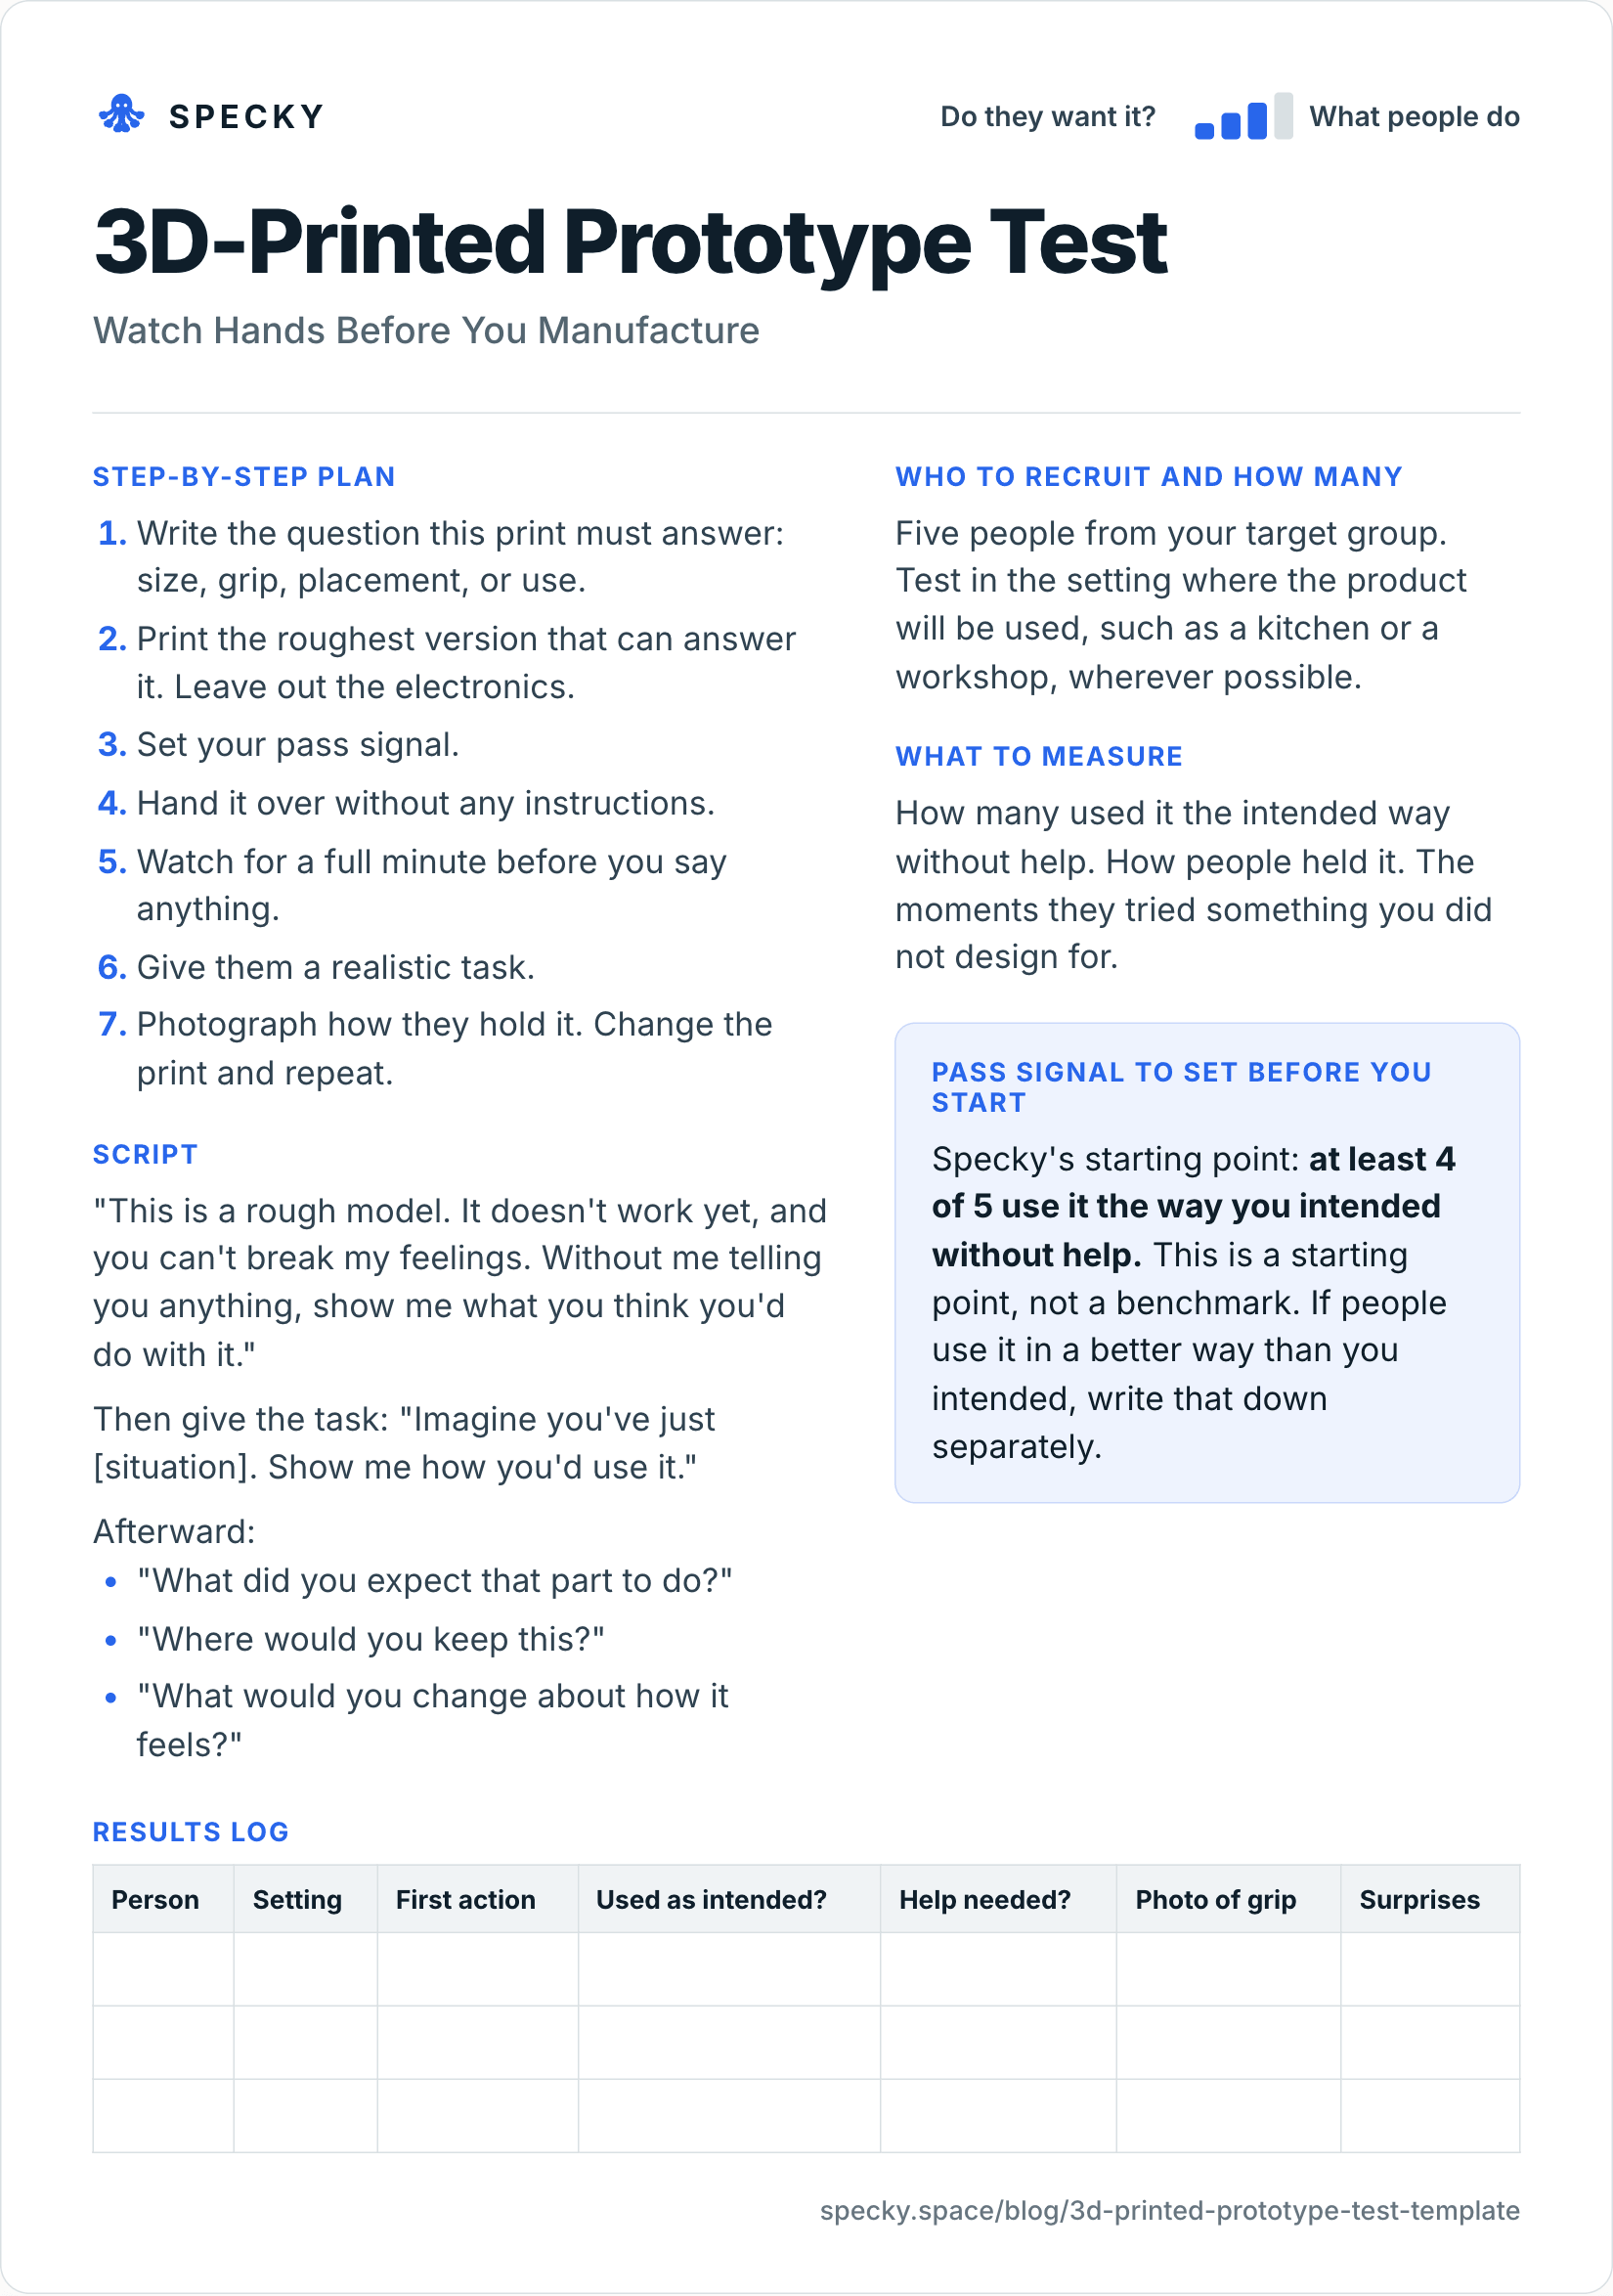
3D-printed prototype test template (copy and use)
Open the image at full size, or copy the text version below.
Who to recruit and how many
Five people from your target group. Test in the setting where the product will be used, such as a kitchen or a workshop, wherever possible.
Step-by-step plan
Write the question this print must answer: size, grip, placement, or use.
Print the roughest version that can answer it. Leave out the electronics.
Set your pass signal.
Hand it over without any instructions.
Watch for a full minute before you say anything.
Give them a realistic task.
Photograph how they hold it. Change the print and repeat.
Script
"This is a rough model. It doesn't work yet, and you can't break my feelings. Without me telling you anything, show me what you think you'd do with it."
Then give the task: "Imagine you've just [situation]. Show me how you'd use it."
Afterward:
"What did you expect that part to do?"
"Where would you keep this?"
"What would you change about how it feels?"
What to measure
How many used it the intended way without help. How people held it. The moments they tried something you did not design for.
Pass signal to set before you start
Specky's starting point: at least 4 of 5 use it the way you intended without help. This is a starting point, not a benchmark. If people use it in a better way than you intended, write that down separately.
Results log
Person
Setting
First action
Used as intended?
Help needed?
Photo of grip
Surprises
How do you run a 3D-printed prototype test step by step?
The template has the plan. These rules keep the session honest:
One question per print. "Can people find the button with gloves on?" is testable. "Is the design good?" is not.
Recruit for the extremes. Include the smallest and largest hands you expect, and anyone who will use it with gloves or one hand.
Test where it lives. If you can't go there, bring the surrounding objects.
Photograph hands, not faces. One shot of the grip from above, one from the side, with permission.
Plan two or three rounds. Book a print between rounds and change one thing each time.
What should you measure?
Measure
How to record it
Why it matters
Used as intended, unaided
Yes or no, per person
The pass signal
First action
What they did in the first 10 seconds
Shows what the shape tells people to do
Grip
Photo, plus a note on fingers and thumb
Reveals reach and comfort problems
Help needed
Each time, and what you said
One hint means "no" on the first row
Surprises
Anything they tried that you didn't design
Often the best idea in the session
How many people do you need for 3D-printed prototype testing?
Five per round, from one type of user. Jakob Nielsen's model has five users finding about 85% of usability problems, and he advises spending a 15-person budget on three rounds of five, fixing the design in between (Nielsen Norman Group, 2000). The design sprint uses five too, and its guide says big patterns emerge after five interviews.
Physical prototype testing needs one adjustment: bodies vary more than screens. If you have two distinct groups, such as commuters and road cyclists, Nielsen suggests three to four people from each.
3D-printed prototype vs paper prototype vs life-sized prototype: which should you use?
Layout, reach and flow in a room, kiosk or vehicle
Misses
Price, purchase, final materials
Anything physical
Anything small enough to hold
Start with the cheapest one that answers your question. Many hardware products need both: paper for the screen or app, a print for the object. A parcel locker needs a corridor.
What does a 3D-printed prototype test look like in practice?
This example is made up to show the method. A small team is designing a bike light that clips to a helmet. They print a rough shell, with no electronics, and hand it to five cyclists in a bike shop.
All five put it on the helmet, but three try to clip it to the back and not the side, because that is where they would want it to be seen. Two struggle to find the button with gloves on.
Only two of five used it the way the team intended, so the signal fails. A second print moves the clip and enlarges the button. The cost is one more print and a day.
Round two, also illustrative: five different cyclists, two in winter gloves. Four clip it to the back first time and find the button without looking. That is 4 of 5, a pass, and a shape worth quoting a mold for. Moving the clip after an aluminium mold is cut would mean reworking a tool Formlabs prices at $2,000 to $5,000, with three to four weeks of lead time (Formlabs).
What are the most common 3D-printed prototype testing mistakes?
Printing too polished a version. A nice finish invites comments on the colour.
Explaining first. The first ten seconds without instructions are the most useful part.
Testing at your desk. A helmet light should be tested near a bike.
Changing several things at once. You will not know what fixed it.
Mistaking delight for intent to buy. People love holding new things.
Testing only on your team's hands. Your hands are not the market's hands.
When it doesn't work: for software, for anything where the final material or weight is the point, and for price. Whether the electronics fit is a job for a works-like rig or a technical spike.
Is it safe and fair to test with a rough print?
Yes, with three checks. File off sharp edges and support material before anyone handles a print, and keep small detachable parts away from children. Ask before you photograph hands or record voices, and say how long you keep the files. And be honest: keep the script's opening line that this is a rough model, and never quote a ship date or price to see how people react. You are testing a shape, not taking an order.
How to run it in Specky
On the Assumptions page, click the note and choose Pick a test, then 3D print. Specky fills in the steps, the pass signal, and a two-week timeline.
You run this one. Specky keeps the plan and the result. Print the model and watch people use it.
Click Start running. Paste what you saw, and link any photos, onto the test.
Record the result.
A pass shows on the board as Supported, because watching real use is behavior. Keep in mind this only supports the physical design.
What should you do with each outcome?
Supported: Move on to testing the whole experience at full scale with a life-sized prototype, or test the offer and price with a data sheet.
Unclear: Some managed it, some did not. Identify what those who struggled have in common, then change one thing and print again.
Contradicted: People did not use it as you intended. Consider adopting what they did try to do. Any bet resting on this note now shows as Contradicted.
Frequently asked questions
Why 3D print a prototype before manufacturing?
3D printing lets you see how people really handle a product before paying for tooling. Changing a print costs a day and some filament; changing a production mold can mean reworking a tool that costs thousands of dollars and takes weeks. Formlabs prices aluminium molds at $2,000 to $5,000 and complex steel molds at up to $100,000.
Do you need a 3D printer to test a physical product?
No. For many questions a block of wood, foam or cardboard is enough. Jeff Hawkins tested the PalmPilot's design with a wooden model and a chopstick stylus. Use the roughest material that can answer the question you actually have, and print only when shape, fit or a moving part needs precision.
What can a 3D-printed prototype not tell you?
A 3D-printed prototype cannot tell you whether people will buy the product. It also cannot show how the final material, weight or finish will feel, unless the print is close to them. Research summarised by MeasuringU found prototypes predicted how easy a product felt, but not how attractive people found it.
How many people should handle a physical prototype?
Five per round from one target group, tested one at a time. Nielsen's model estimates five users find about 85% of usability problems. Because hands and settings vary, include the extremes, such as small hands, large hands and gloves, and run two or three rounds with a new print in between.